
Bosses
Every DELTARUNE Fight boss broken down attack by attack, with phase changes, dodge windows and the punish timing that turns a loss into a clear.
Introduction
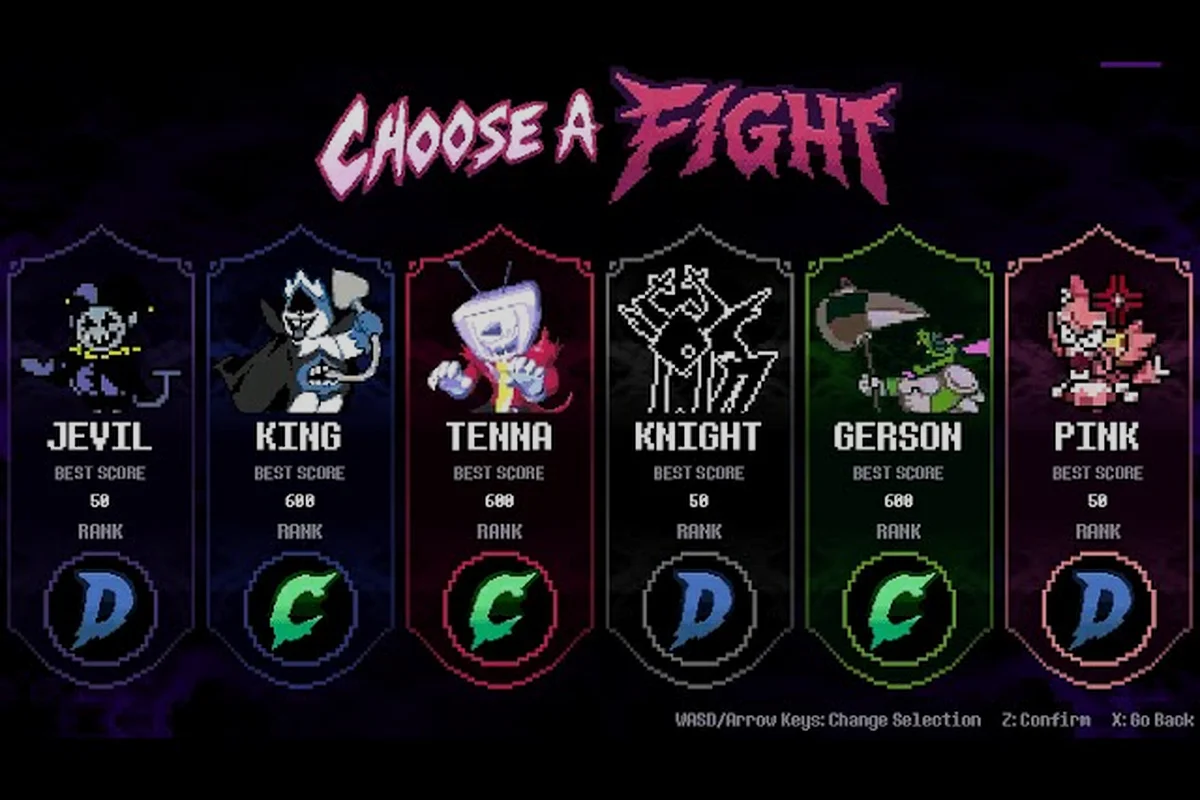
The boss hub is the reference layer for every encounter documented in DELTARUNE Fight so far. Each fight is broken down by attack order, phase behaviour and the size of the punish window between patterns, because those three factors decide far more than raw health ever does. Coverage here focuses on what the fight asks before it starts: which tell opens the rotation, where a phase change resets the pattern, and which mistakes are recoverable and which end the attempt. Because content has arrived one boss at a time since the August 2026 launch, this hub is maintained as a snapshot of the current build rather than a closed list. Names are only included once more than one community source confirms them, and anything unconfirmed is labelled as such instead of being presented as fact.
Boss Pattern Reference
| Boss | Opening Tell | Phase Shift | Punish Window |
|---|---|---|---|
| King | Wide slow sweeps across the arena | Faster repeat of the same shapes | Generous after each sweep |
| Pink | Long horizontal sweeps from both sides | Added patterns after release updates | Moderate, reads clearly |
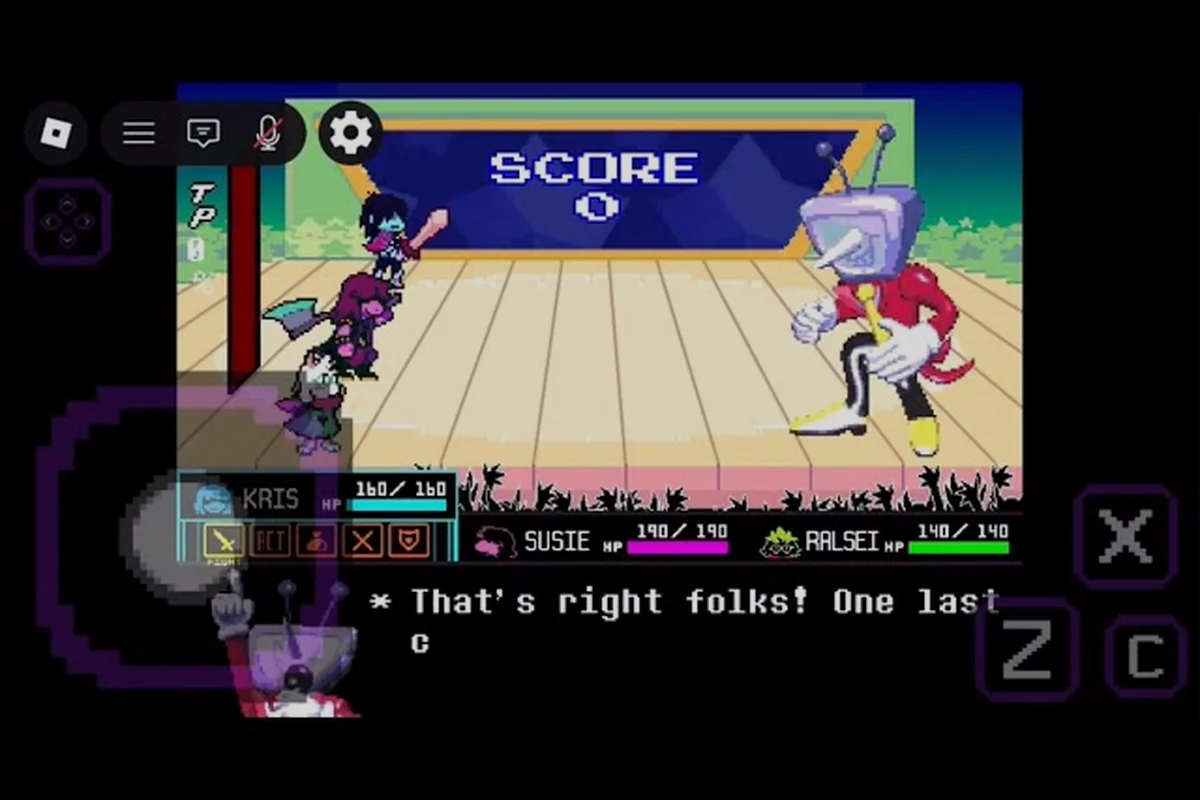
| Tenna | Rotating pattern with a short pause | Second phase stacks overlapping sets | Short, mostly before the shift |
| Kaizo Knight | Tightened Knight rotation, minimal recovery | Very small gaps throughout | Narrow, requires a memorised route |
Encounter Files
King
Entry encounter built around wide, readable shapes
Pink
A later addition whose attack list kept growing after release
Tenna
Television-themed fight with a punishing second phase
Jevil
Fast, direction-changing patterns that punish fixed positioning
Kaizo Knight
Harder Knight remix treated as the endgame benchmark
Core Mechanics
Every boss in DELTARUNE Fight is built from the same three-part structure, and reading it is what separates a clear from a wall. First comes the opening tell: a short animation or colour cue that fires before the pattern actually travels, giving you the only reliable warning you will get. Second comes the rotation itself, which is a fixed sequence of shapes, and the sequence is what you memorise rather than each individual attack. Third comes the punish window, the gap between the rotation ending and the next one starting, which is where damage happens. Harder encounters compress all three parts at once: the tell gets shorter, the rotation gets longer, and the punish window shrinks. That is why a fight that felt comfortable on Standard can feel impossible on Genocide without a single stat changing anywhere.
Advantages
The boss design here is unusually honest. Because patterns are fixed sequences rather than randomised spawns, a fight is fully solvable once you know it, and nothing is left to luck at the moment of execution. Tells are visually consistent, so the same cue always precedes the same pattern, which means knowledge earned in one attempt carries directly into the next. Difficulty is also layered rather than flat: the same boss can be fought at Standard, Brutal and Genocide, so a fight that is too hard today remains useful later without needing new content. Finally, the roster is small and documented, which means the total amount to learn is bounded, and the punish windows are consistent enough that damage planning is a real strategy rather than improvisation.
Challenges
The same rigidity cuts the other way. A boss with an unreadable tell is not a reflex test but a memory test, and some encounters only make sense after watching someone else clear them, which is a poor way to teach a mechanic. Because the roster grows with each update, a route written for the current build can be invalidated by a balance pass, and there is no in-client patch note explaining what moved. Damage windows are also narrow enough on the highest tiers that a single mistimed input can waste an entire rotation, which makes late-fight mistakes disproportionately expensive. Finally, several bosses are only documented through community video rather than an official source, so the accuracy of any given pattern description depends on the quality of the footage behind it.
Frequently Asked Questions
Which boss should I fight first in DELTARUNE Fight?+
Why do I keep dying to the same attack?+
Is the Kaizo Knight boss required to finish the game?+
Quick Tips
Watch the arena, not your character. Cursor movement is continuous and your fighter is largely decorative during the attack phase, so the only information that matters is where the shapes are going and where the gaps will be when they finally arrive. Players who stare at their own sprite miss the tell entirely and then blame reaction speed for a failure that was really a reading error.
Bank damage in the last seconds of a rotation rather than the first. Punish windows are widest right before the next sequence starts, and attacking early often means abandoning a safe position for no additional reward at all, which is how a comfortable fight turns into a lost attempt. If you are unsure whether a window is still open, assume it is not and reposition instead of gambling the attempt.
Re-check pattern notes after every update. Bosses have been added and reworked in stages since launch, so a route that worked last month can quietly stop working when attack density or recovery frames change, and there is no in-client notification telling you that the fight you memorised is now a different one.
Featured
DELTARUNE Fight How to Unlock Bosses: Gates & Phase Guide
Follow DELTARUNE Fight how to unlock bosses with unlock requirements, phase triggers, and attack-pattern tips for every confirmed roster encounter.
DELTARUNE Fight How to Dodge Boss Attacks: Soul Cursor Timing
Master DELTARUNE Fight how to dodge boss attacks with soul-cursor timing rules, safe-spot reads, and counter windows tested against Tenna, King, Pink, and Jevil.
DELTARUNE Fight All Boss Fights: No-Hit Runs & Difficulty Tiers
Watch every DELTARUNE Fight all boss fights clip, compare Brutal and Genocide-tier damage, and learn no-hit strategies from Tenna to the hidden roster.
All Articles
DELTARUNE Fight All Bosses: Full Roster, Phases & Rewards
Browse the complete DELTARUNE Fight all bosses roster — from Tenna and King to Pink and Jevil — with phase breakdowns, attack patterns, and clear loot rewards.
DELTARUNE Fight How to Beat Kaizo Knight: Solo No-Hit Timing
Survive DELTARUNE Fight how to beat kaizo knight with a no-hit solo plan, phase-by-phase attack reads, and healing windows that hold up on Roblox.
DELTARUNE Fight Secret Boss: Jevil Unlock, Patterns & Rewards
Hunt the DELTARUNE Fight secret boss Jevil with community unlock reports, full attack pattern reads, and reward tips for surviving every chaotic phase on Roblox.