
Tier List
DELTARUNE Fight tier list ranking the whole boss roster by attack density, pattern readability and punish window size, from entry fights to Kaizo remixes.
Introduction
The tier list ranks every documented boss in DELTARUNE Fight by how hard it actually is to clear, not by how intimidating it looks. Ranking here weights three things: attack density, meaning how much of the screen is dangerous at any moment; pattern readability, meaning how obvious the tells are before an attack travels; and punish window size, meaning how much time a clean rotation leaves you to deal damage. A boss that scores badly on all three lands in the top tier regardless of its health, because in this game nothing is defeated by outlasting it. Placements are a working model rather than a permanent verdict, since each update can add a boss or change an existing rotation. The methodology is listed with the ranking so you can see why a fight sits where it does.
Boss Rankings by Difficulty
| Tier | Boss | Attack Density | Readability | Punish Window |
|---|---|---|---|---|
| S | Kaizo Knight | Very high | Low | Very narrow |
| A | Tenna | High in phase two | Medium | Short after the shift |
| A | Jevil | High | Low to medium | Narrow, movement-heavy |
| B | Pink | Medium | High | Moderate |
| C | King | Low | High | Generous |
Ranking Breakdown
Kaizo Knight
Top of the ranking and the hardest documented clear
Tenna
The hardest of the standard encounters once phase two begins
Jevil
Fast direction changes make positioning the deciding factor
Pink
Readable patterns with a lot of screen coverage
King
The entry fight and the best place to learn the basics
Core Mechanics
Rankings on this page are produced from three measurements taken on each boss rather than from subjective impressions. Attack density is the proportion of the arena that is dangerous at any moment during a rotation, which separates fights that look busy from fights that actually restrict movement. Pattern readability measures how much warning a tell gives before an attack travels, and this is the dimension most responsible for whether a fight feels fair. Punish window size measures how long a clean rotation leaves you to deal damage, and it acts as a multiplier on the other two, because a hard fight with a generous window is a long fight while a hard fight with a narrow one is a wall. Together these three numbers produce a placement. Health, level and stats deliberately play no part, since no boss in this game is defeated by outlasting it.
Advantages
A transparent ranking method is genuinely useful for a game like this, because it tells you not just what is hard but why. Knowing that a boss scores badly on readability rather than on density points you at the right fix: watching a clear at half speed instead of grinding more attempts. The tiers also map cleanly onto progression, since the ranking order is close to the order a player should attempt the fights, which makes the list double as a roadmap. Because difficulty is selected per encounter, the ranking stays useful even after you have outgrown the easier fights, and it survives updates better than a flat ordering would. Finally, separating density from readability means a new boss can be placed accurately within days of arriving, using video rather than requiring full personal clears.
Challenges
Any ranking of a live game decays, and this one is no exception. Bosses have been added one update at a time since launch and existing fights have been reworked, so a placement written today can be wrong within weeks if density or recovery frames change. The measurement is also partly observational: readability and punish window size are estimated from community footage rather than read out of the game, which introduces a margin of error that a purely statistical ranking would not have. Sample size is limited too, with only a handful of documented encounters, so small differences between adjacent tiers are not meaningful. Treat the ordering as directional guidance rather than as a precise score, and re-check it after each significant balance change rather than assuming a placement is permanent.
Frequently Asked Questions
How is the DELTARUNE Fight tier list decided?+
Is the hardest boss required for a full completion?+
Why does a boss move up or down the ranking after an update?+
Quick Tips
Use the ranking as an attempt order, not just as a difficulty label. The list roughly follows the progression the game expects, so working from the bottom upwards means each new fight only introduces one unfamiliar idea at a time instead of several at once. Attempting the roster out of order is the fastest way to conclude the game is unfair when the real issue is a missing habit.
Pay attention to which dimension put a boss high in the list. A fight ranked hard for low readability is fixed by studying footage, while one ranked hard for narrow punish windows is fixed by drilling execution, and those two problems need completely different practice sessions to solve efficiently. Matching the practice method to the actual weakness is what makes a session feel productive instead of merely long.
Re-check the list after every balance update. Because density and window size are invisible in the interface, a reworked fight can feel completely different without any obvious signal that something changed, which is why video comparison remains the only reliable way to confirm a shift. A placement recorded before a balance pass can be wrong by a full tier even though nothing visible changed in the interface.
Featured
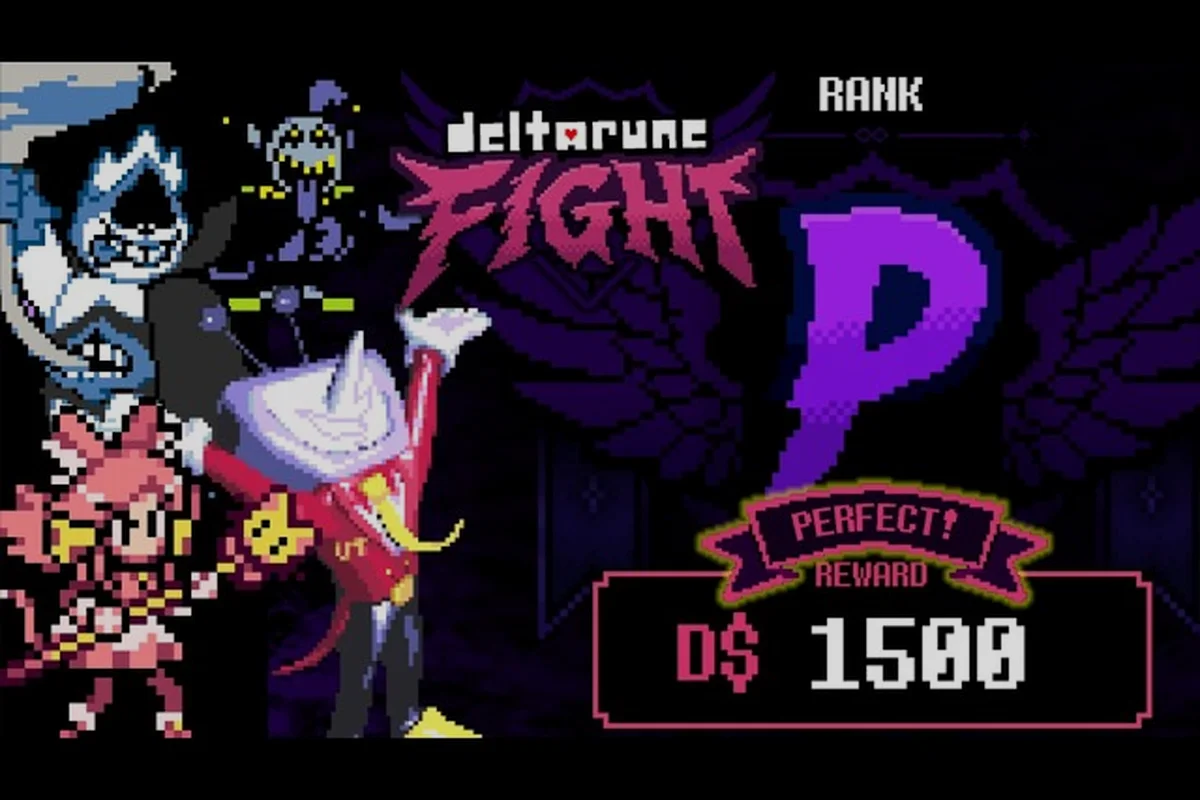
DELTARUNE Fight Ability Ranking: Bosses Ranked by Threat
Break down the DELTARUNE Fight ability ranking from easiest to hardest boss, scored by damage, dodge difficulty, and how often each move ends a clear run.
DELTARUNE Fight Best Difficulty: Tier Rank & Mode Switch Tips
Pick the right DELTARUNE Fight best difficulty with a clear tier ranking, enemy pattern changes per mode, and the exact moment to step up from Normal to Hard.
DELTARUNE Fight Tier List: Boss Rewards & Ranked Picks
Compare every DELTARUNE Fight tier list entry by attack density, reward value, and difficulty tier so you know which Roblox boss to chase first.
All Articles
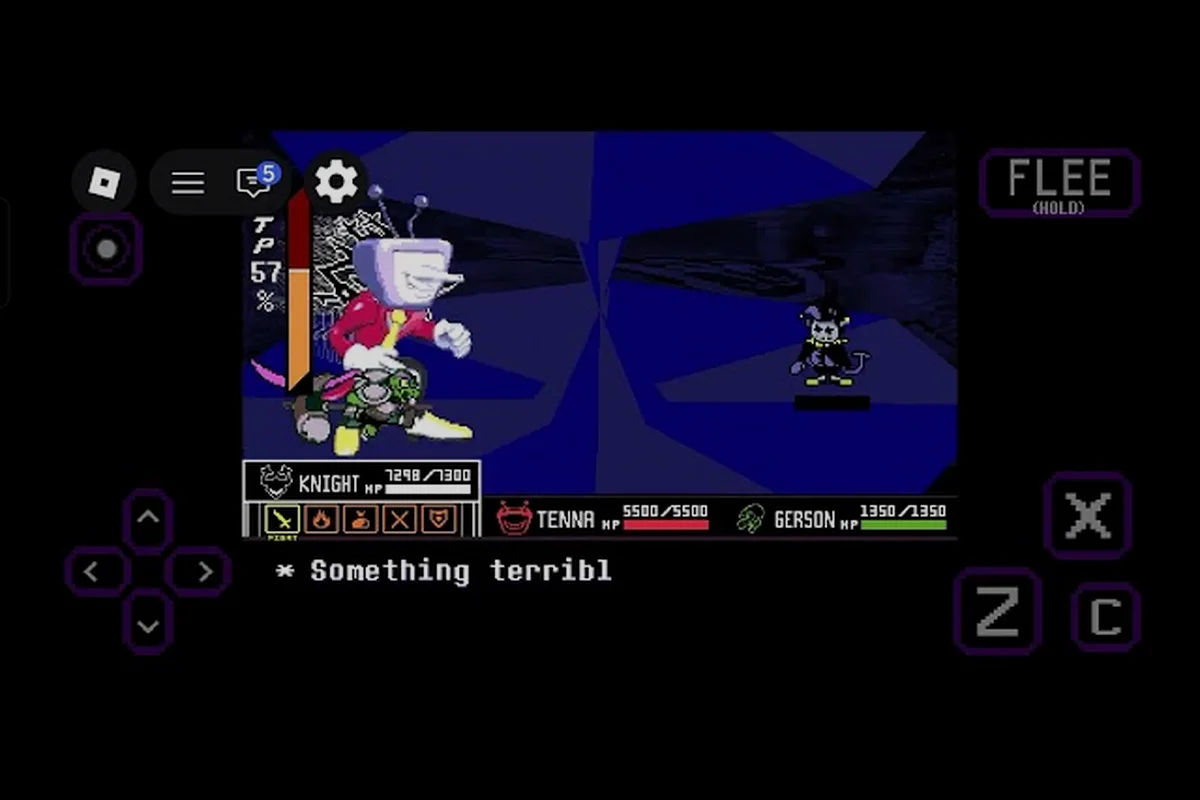
DELTARUNE Fight Tier List 2026: Best Characters & Party Ranked
Check the DELTARUNE Fight tier list 2026 ranking every character and party comp by damage, survivability, and boss-clear speed on Roblox.
DELTARUNE Fight Tier List Explained: Criteria & Matchup Math
Break down the DELTARUNE Fight tier list explained with scoring criteria, matchup data, and which rank factors actually shift your Roblox clear plan.
DELTARUNE Fight Boss Power Levels: Full Stats Comparison
Compare DELTARUNE Fight boss power levels with full stats breakdowns, damage scores, and clear times that reveal which fights are worth grinding first on Roblox.